trixi-framework / trixi-framework/Trixi.jl
Blender visualization for Trixi
- Dominant language
- Julia
- Stars
- 731
- Forks
- 166
- Avg merge
- 2d 18h
- Merged PRs (30d)
- 25
Description
This issue documents a workflow for Trixi to visualize results as photorealistic images and animations using Paraview and the open-source software [Blender](https://www.blender.org/). The general workflow is based on a [tutorial for Flexi](https://www.flexi-project.org/?page_id=1136), and has been modified to work with Trixi and the current Blender version (3.4.1).
Furthermore it can be a starting point for future developments. Open tasks for the visualization are:
- [ ] Further development of the scripts to create a proper visualization pipeline
- [ ] Create a tutorial
### Workflow:
Trixi2Vtk → Paraview → Blender
### Images:
First use [Trixi2Vtk](https://trixi-framework.github.io/Trixi.jl/stable/visualization/#Trixi2Vtk) to convert your solution files into .vtu format.
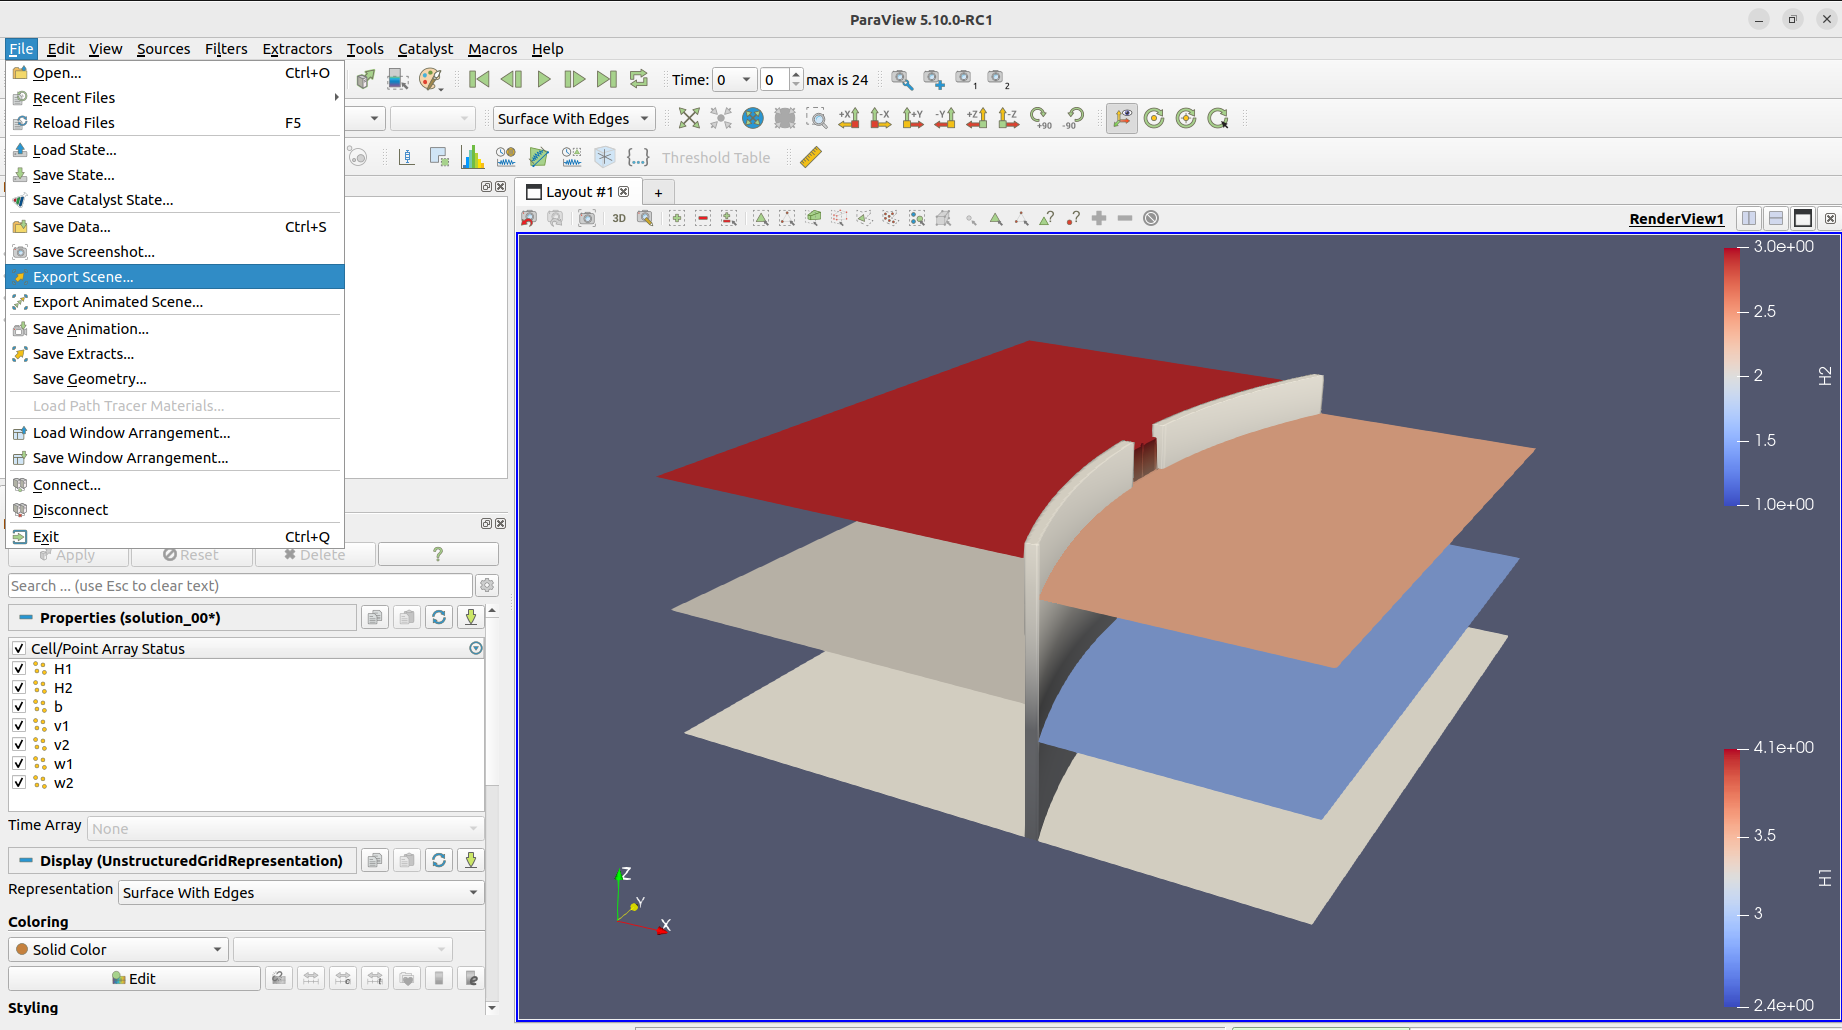
These .vtu-files can then be read into Paraview, where you can setup the visualization. After this is done, save the setup as a statefile (.pvsm) and export the scene as a .x3d-file.
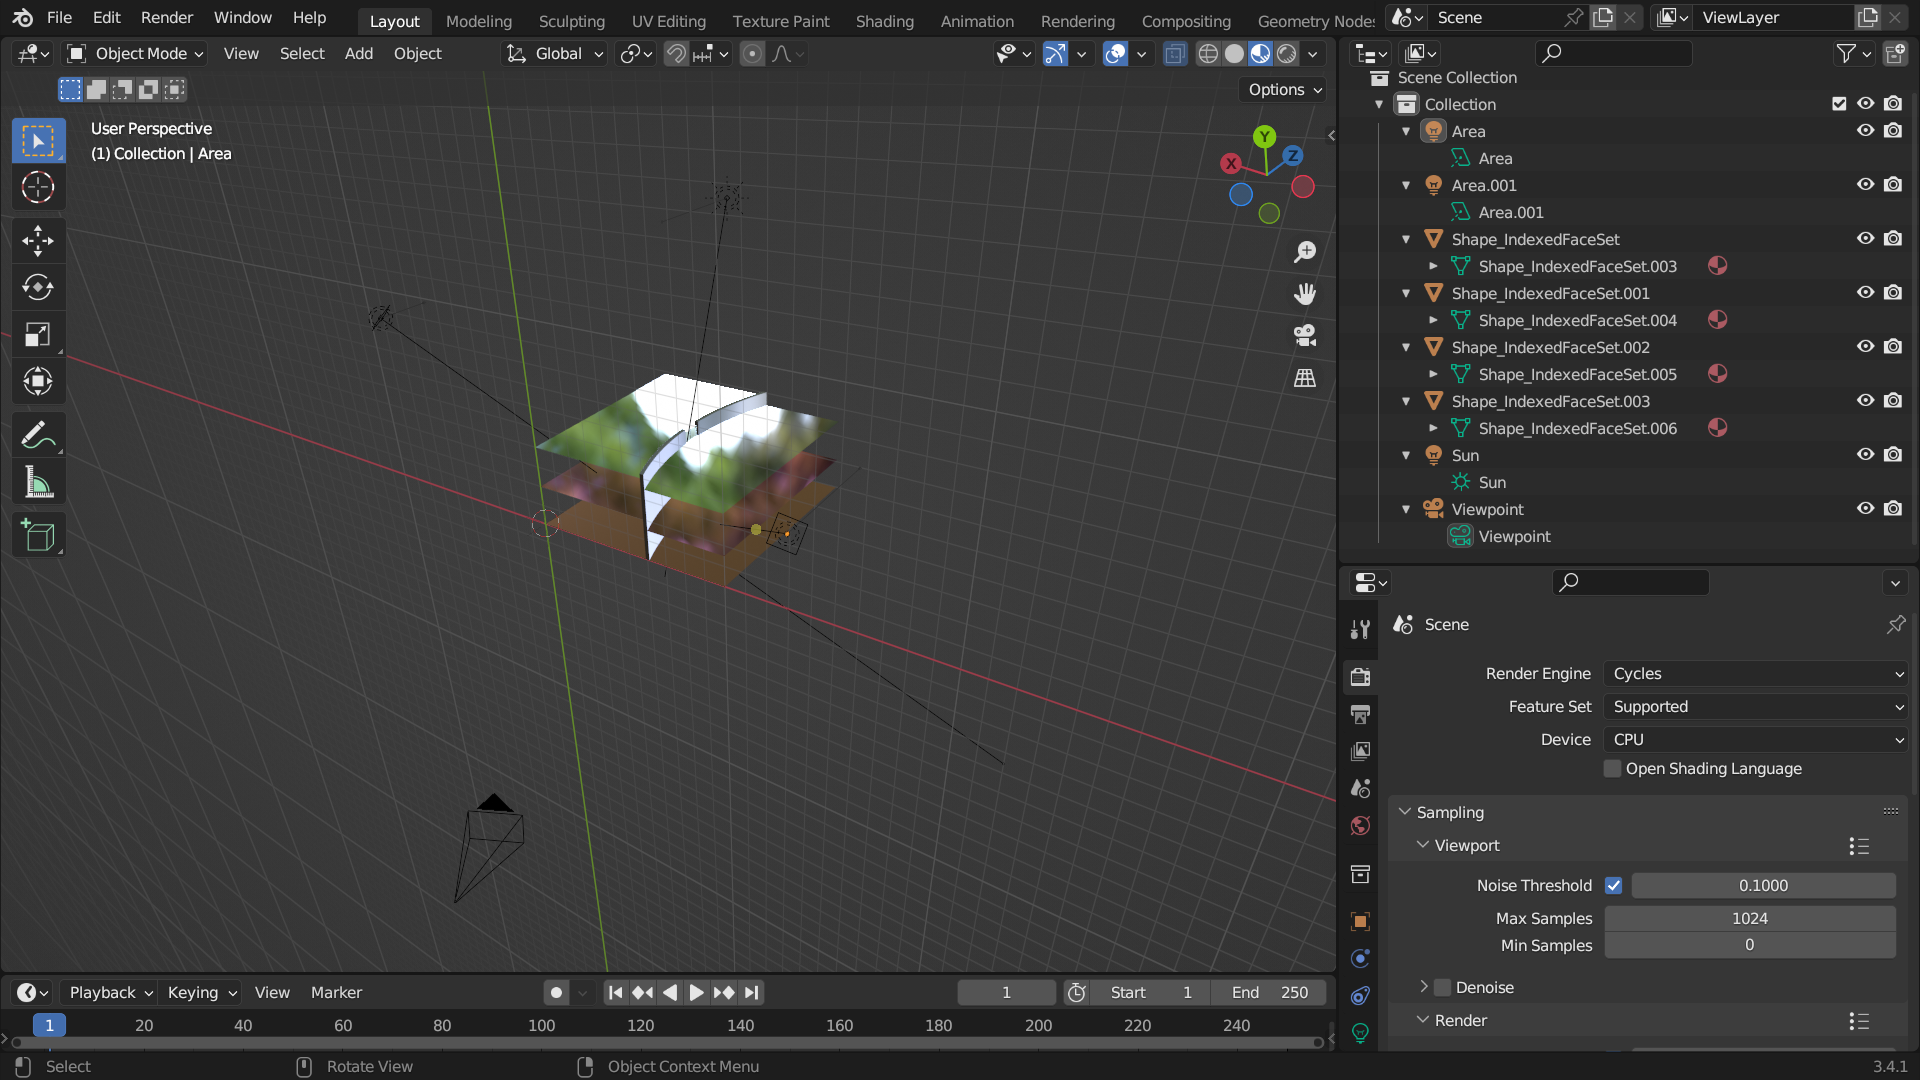
The .x3d-file can then be imported into Blender. Now you have many options to create a nice looking image. Essential steps are to assign materials to the geometry, add lights and specifiy camera positions. The [Flexi Tutorial ](https://www.flexi-project.org/?page_id=1136) gives a nice overview of the steps. However, it was written for an older Blender version and the user interface has changed quite a bit.
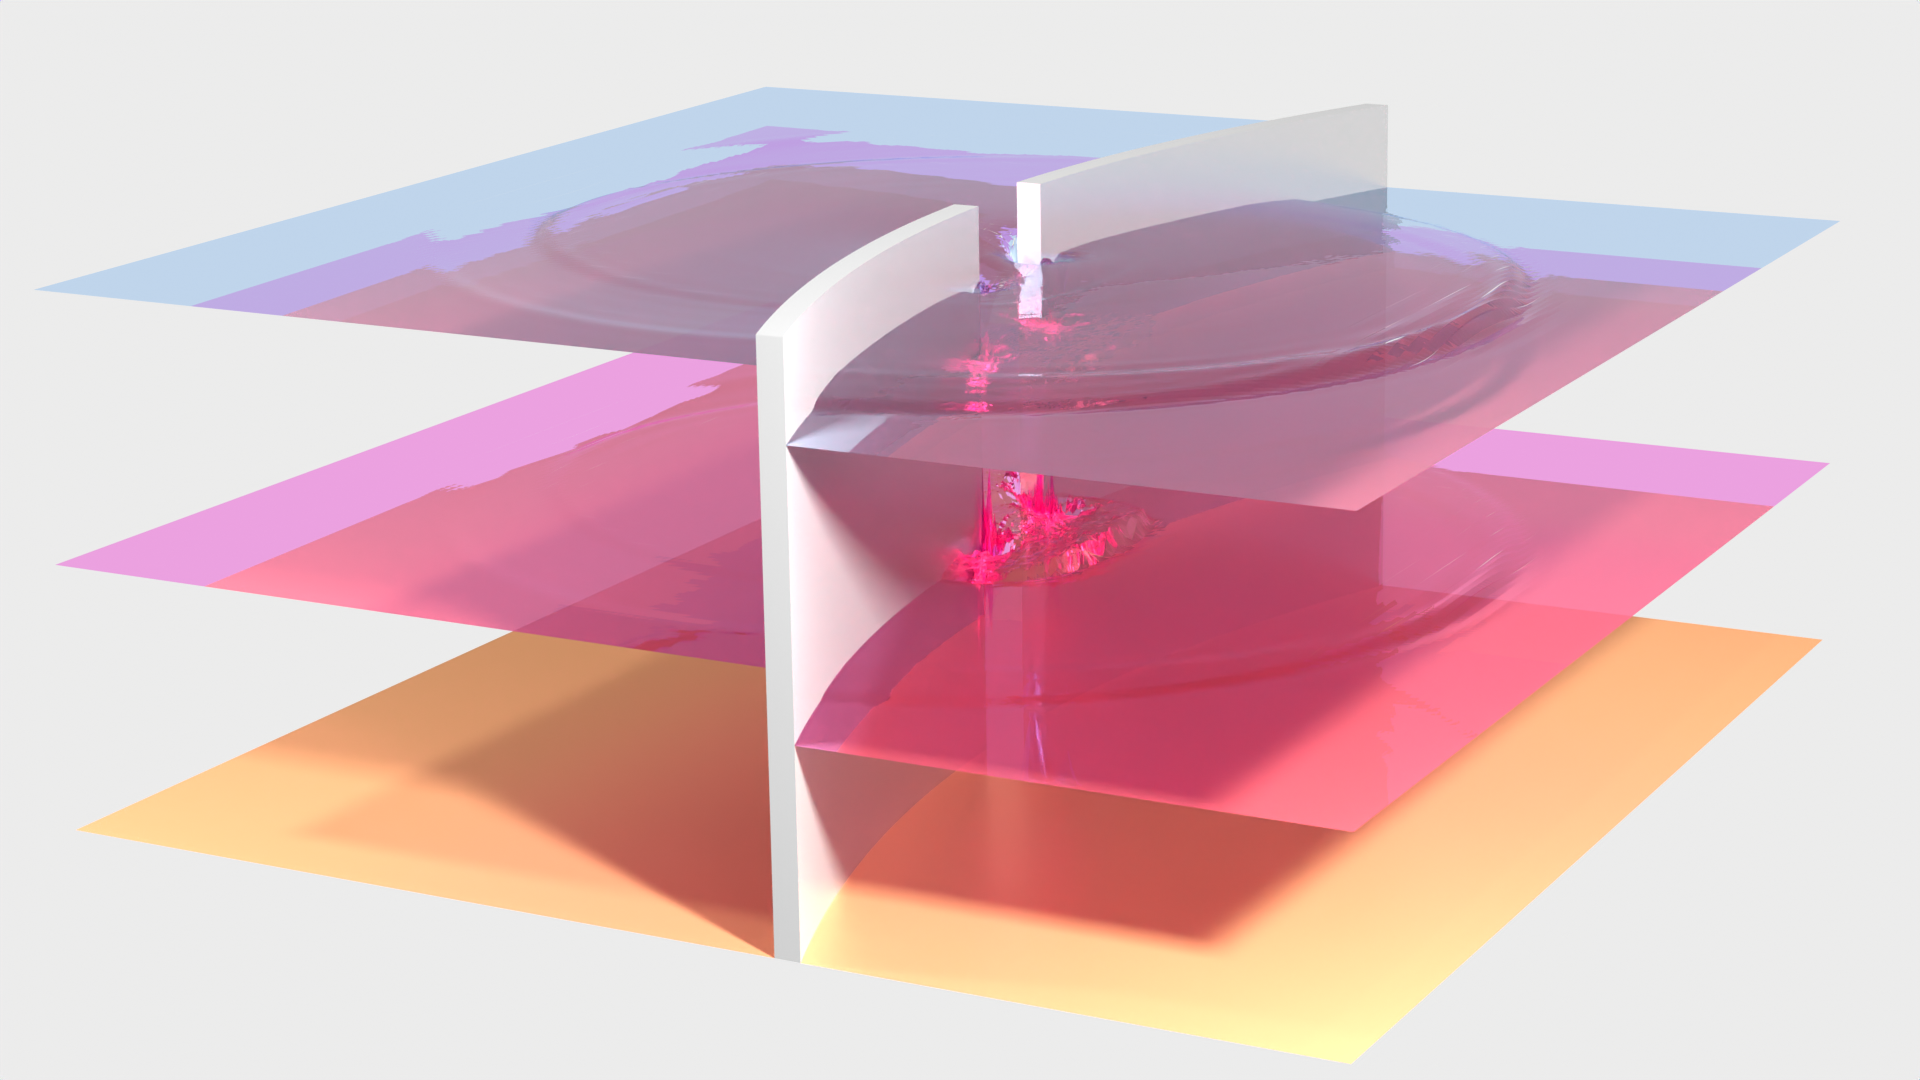
Once this is all done, just start to render and you will obtain the final image.
### Animation:
Since both Blender and Paraview have a python API, this process can be automated. The idea is to export one .x3d-file in Paraview for each step in your animation. This is done by executing the script [paraview_x3d_export.py](https://gist.github.com/patrickersing/52daabd456b8921c2dd55e6149339926#file-paraview_x3d_export-py).
Then use one .x3d-file to setup a single frame in blender (add material, camera, lights and render settings) and save this as a .blend file. This file will then contain the general render settings. Afterwards executing the script [animate_blender.py](https://gist.github.com/patrickersing/52daabd456b8921c2dd55e6149339926#file-animate_blender_twolayer-py) will update the visualization object based on the .x3d-files and render an image for each. This produces several image files in .png-format, that can be converted into video, for example by using the `ffmpeg` command: `ffmpeg -framerate 5 -pattern_type glob -i '*.png' out.mp4`
Contributor guide
Research direction
Start with the existing Trixi2Vtk → ParaView → Blender workflow, including paraview_x3d_export.py and animate_blender.py, and compare it with the linked Flexi tutorial. Clarify whether the contribution should be a tutorial, further script development, or both. Done should mean the selected workflow is documented or automated sufficiently for another user to produce images or animations.
Written by the indexing model from the issue text.
Assessment
- Tech stack
- blender, julia, python
- Domain
- computer-graphics, data-visualization, documentation
- Issue type
- Documentation
- Difficulty
- 4/5
- Estimated time
- 3-5 days
- Activity status
- Stale
- Clarity
- Needs clarification
- Newbie friendliness
- 35/100